.png)
DOMAIN SETUP WITH CLOUDFLARE
- Bunce App Setup:
- Go to the Bunce app and navigate to Settings > Domain.

- Enter your domain name and click on Add Domain.

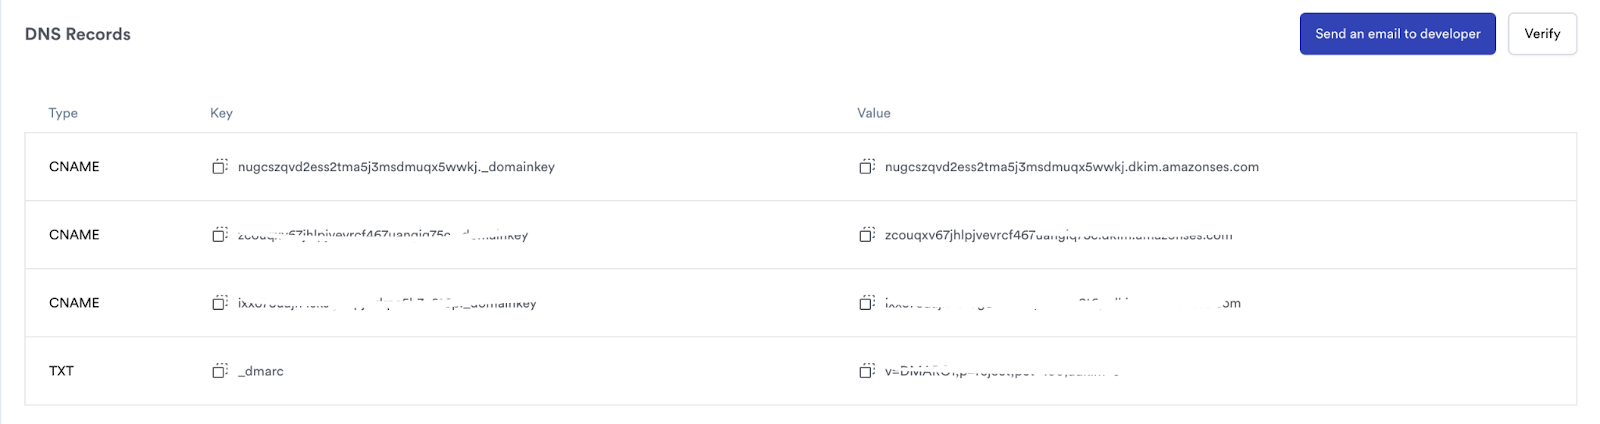
- Once youve added a correct domain, you'll get a list of 4 DNS records. Copy each record for the next step.
- Cloudflare Setup:
- Log in to your Cloudflare account.
- Click on the domain connected to Bunce.

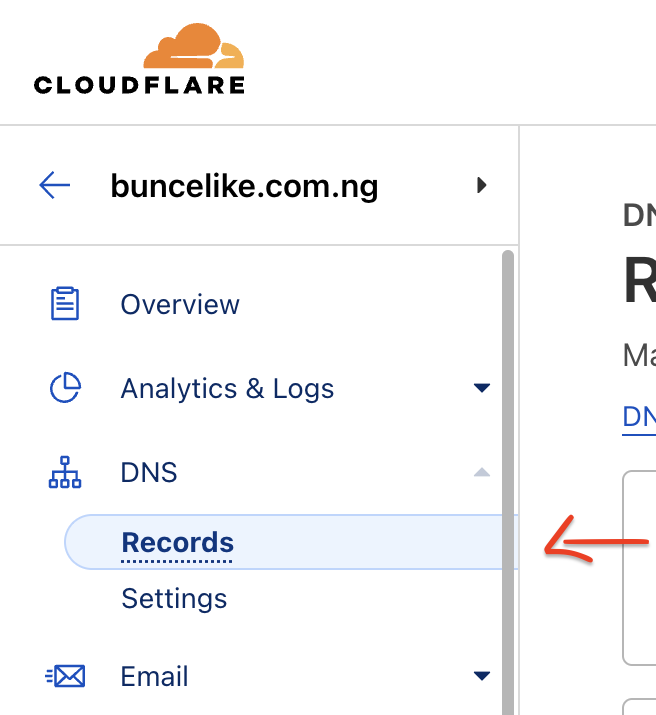
- In the side navigation bar, click on DNS and select Records from the dropdown.
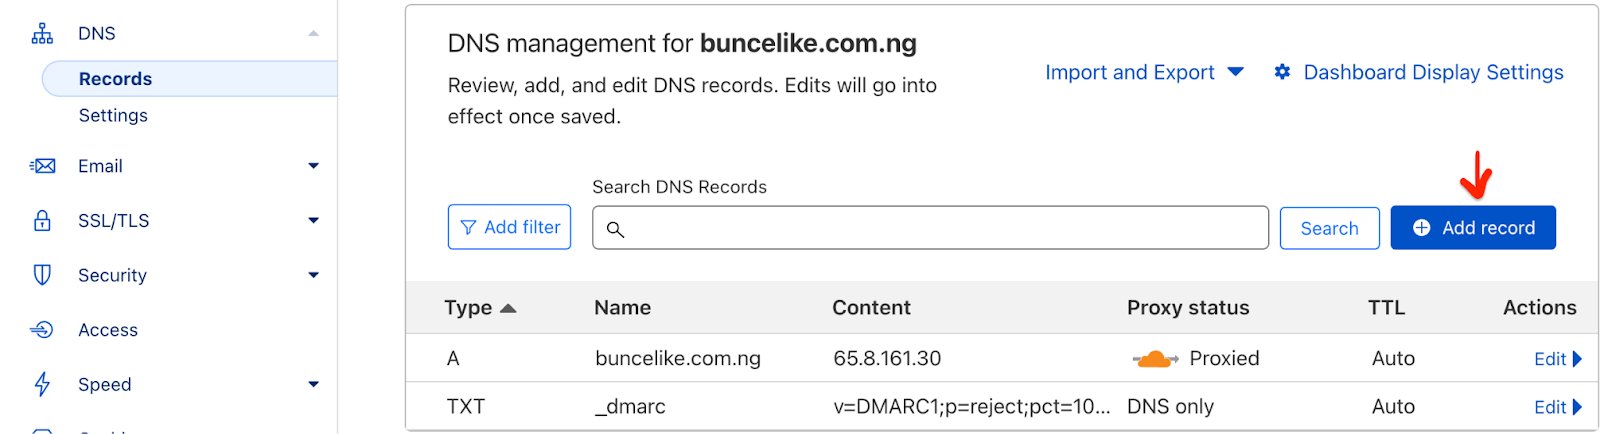
- Click Add Record.
- For records with CNAME Type:
- Choose CNAME from the Type dropdown.
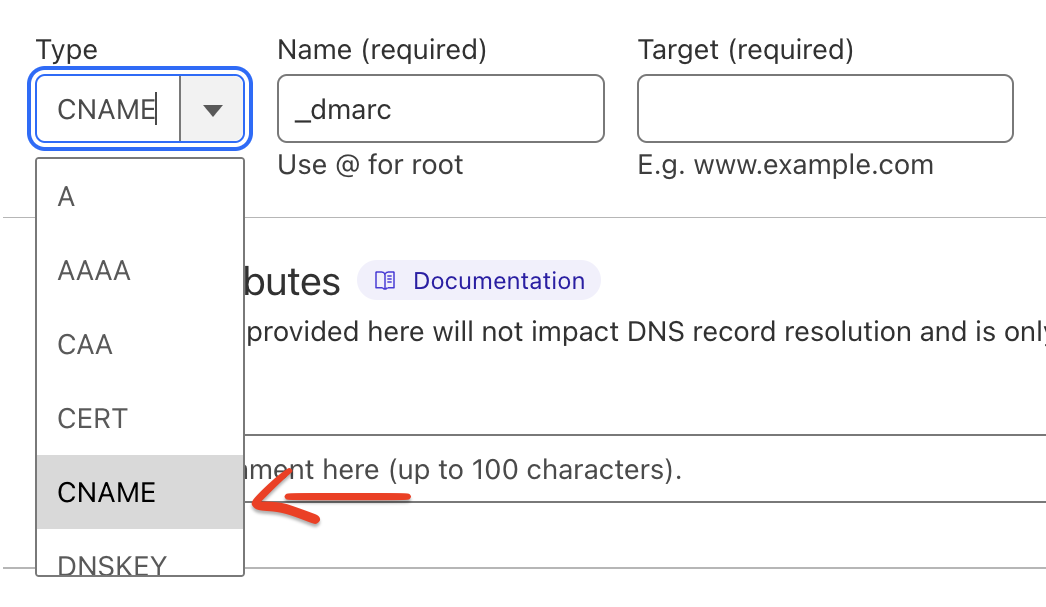
- In the Name field, enter the Hostname provided by Bunce.
- In the Target field, paste the Value provided by Bunce.

- Click Save.
- Repeat the process for other records with CNAME Type.
- For the last record with TXT Type:
- Choose TXT from the Type dropdown.
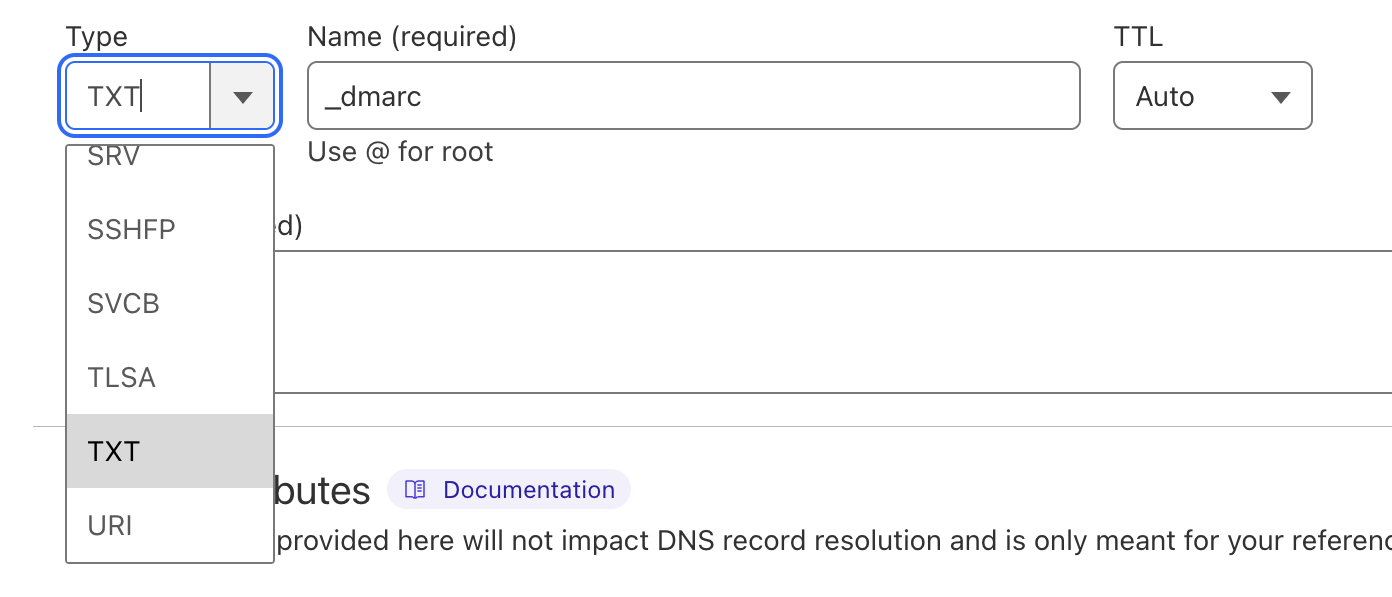
- In the Name field, enter the Hostname provided by Bunce.
- In the Content field, paste the Value provided by Bunce.
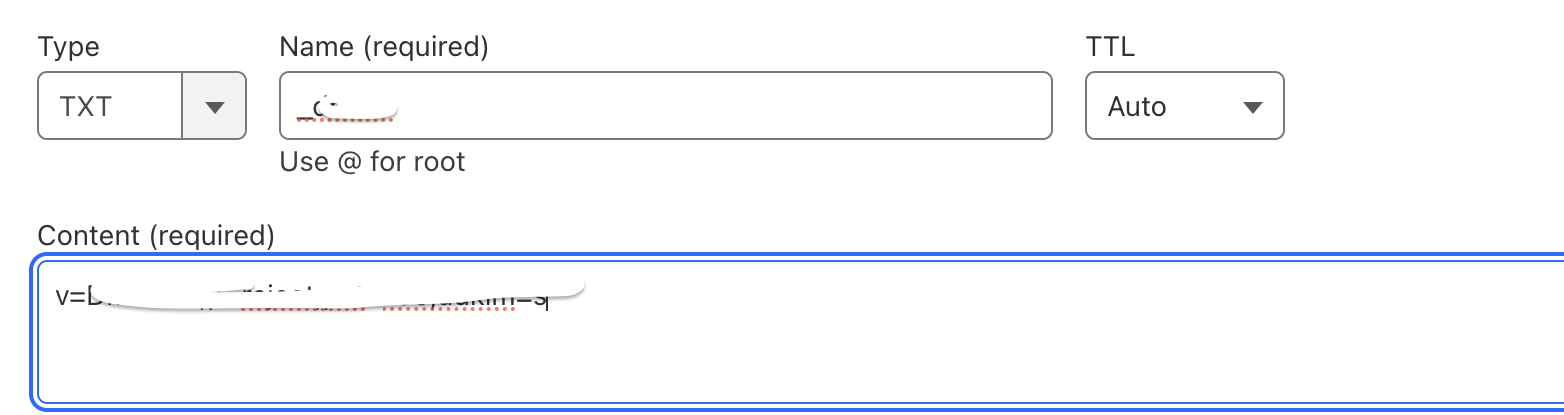
- Click Save.
3. Verification:
- Go back to the Bunce app.
- Wait a few minutes, then click on Verify.
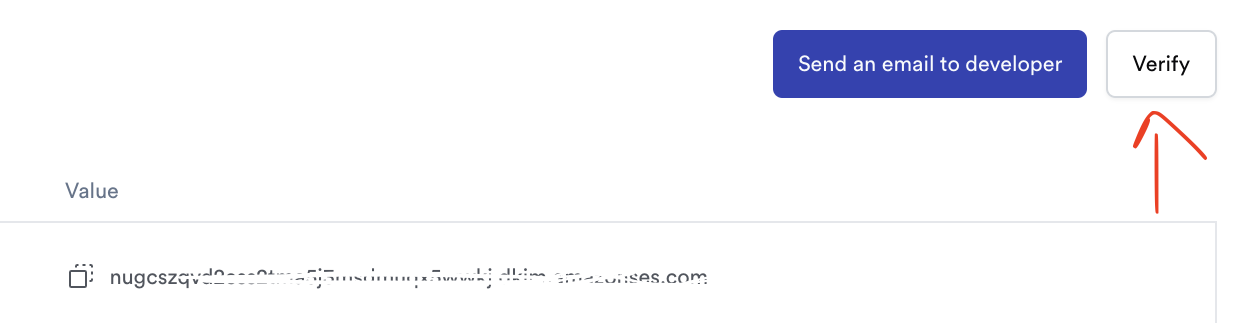
- Note: Propagation may take some time; be patient, and check back after a few hours if needed.
- If verified you can now send out emails with your own Domain. YAY!!