.png)
DOMAIN SETUP WITH NAME.COM
DNS RECORDS SETUP WITH NAME.com
- Bunce App Setup:
- Go to the Bunce app and navigate to Settings > Domain.
- Click on Domain

- Enter your domain name and click on set up Domain.

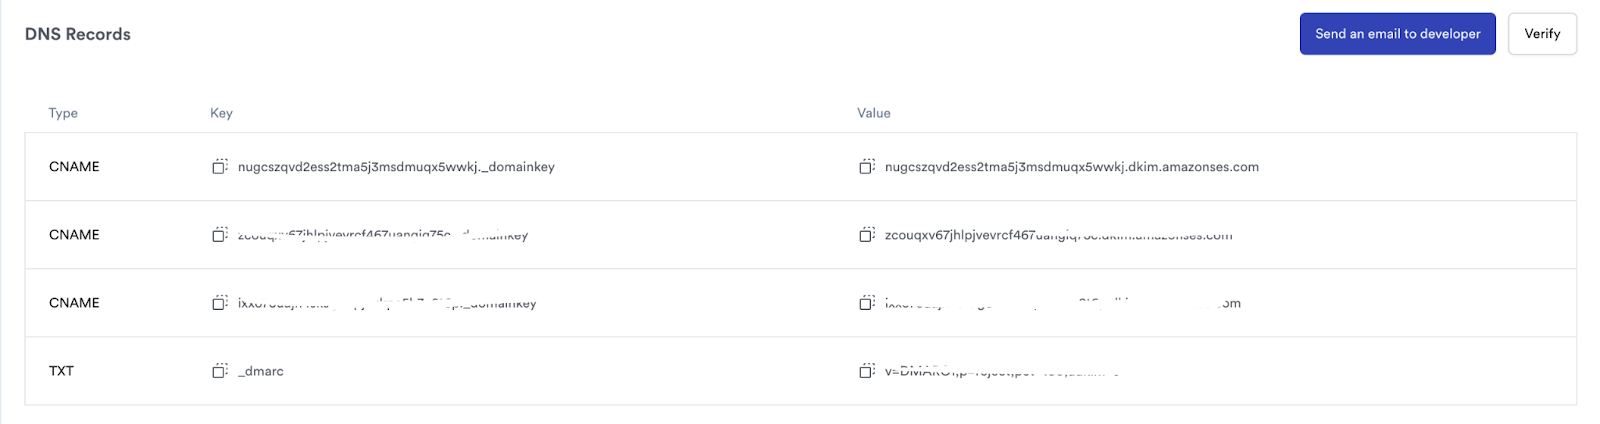
- Once youve added a correct domain, you'll get a list of 4 DNS records. Copy each record for the next step.
- Name.com Setup:
- Log in to your Name.com account.
- Click on the My Domain at the top right corner of the screen

- Click on the three dots under the Manage column on the Domain you want to update the records for (i.e, the domain you have connected to Bunce), then select Manage DNS Records
- Navigate to the bottom of your records.

- For records with CNAME Type:
- Choose CNAME from the Type dropdown.

- In the Host field, enter the Hostname provided by Bunce.
- In the Answer field, paste the Value provided by Bunce.

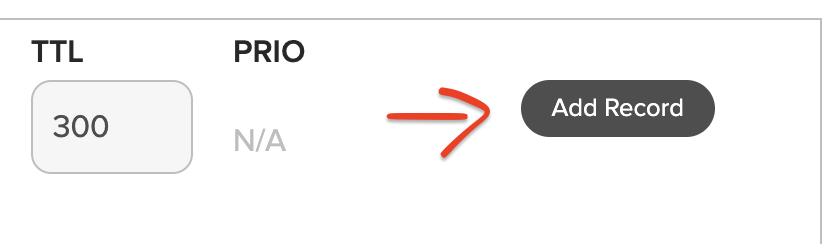
- Click on Add Record
- Repeat the process for other records with CNAME Type.
- For the last record with TXT Type:
- Choose TXT from the Type dropdown.

- In the Host field, enter the Hostname provided by Bunce.
- In the Answer field, paste the Value provided by Bunce.
- Click on Add record to save changes for the record just added.
3. Verification:
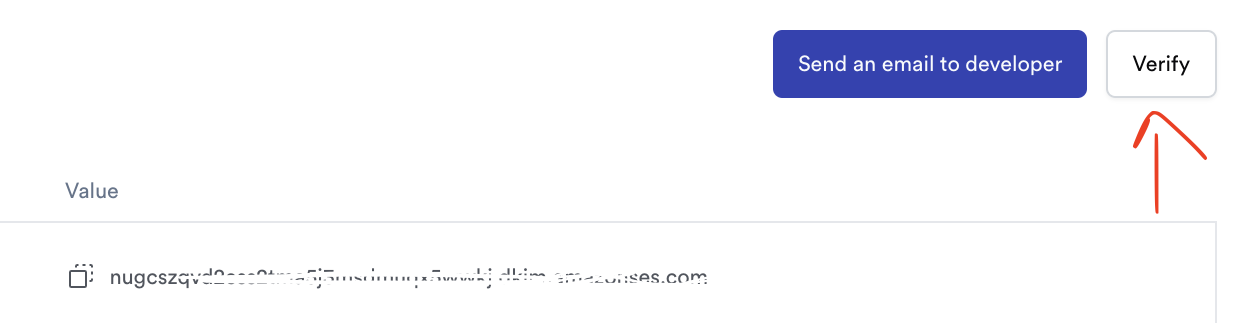
- Go back to the Bunce app.
- Wait a few minutes, then click on Verify.
- Note: Propagation may take some time; be patient, and check back after a few hours if needed.
- If verified you can now send out emails with your own Domain. YAY!!