.png)
HOW TO CREATE AN AUTOMATIC SEGMENT
How to Create an Automatic Segment
Automatic segments dynamically update by adding or removing customers based on the data conditions you set. Here’s a step-by-step guide to creating one:
1. Navigate to Segments
- From the sidebar, select Segments.
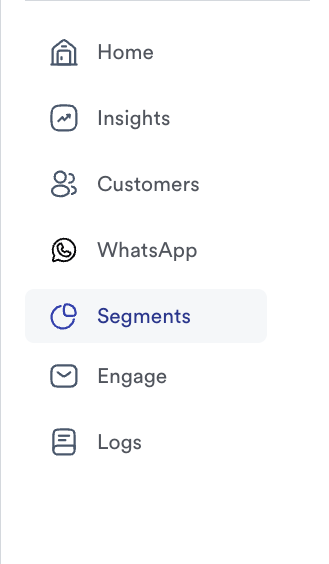
- Click on the Create Segment button.

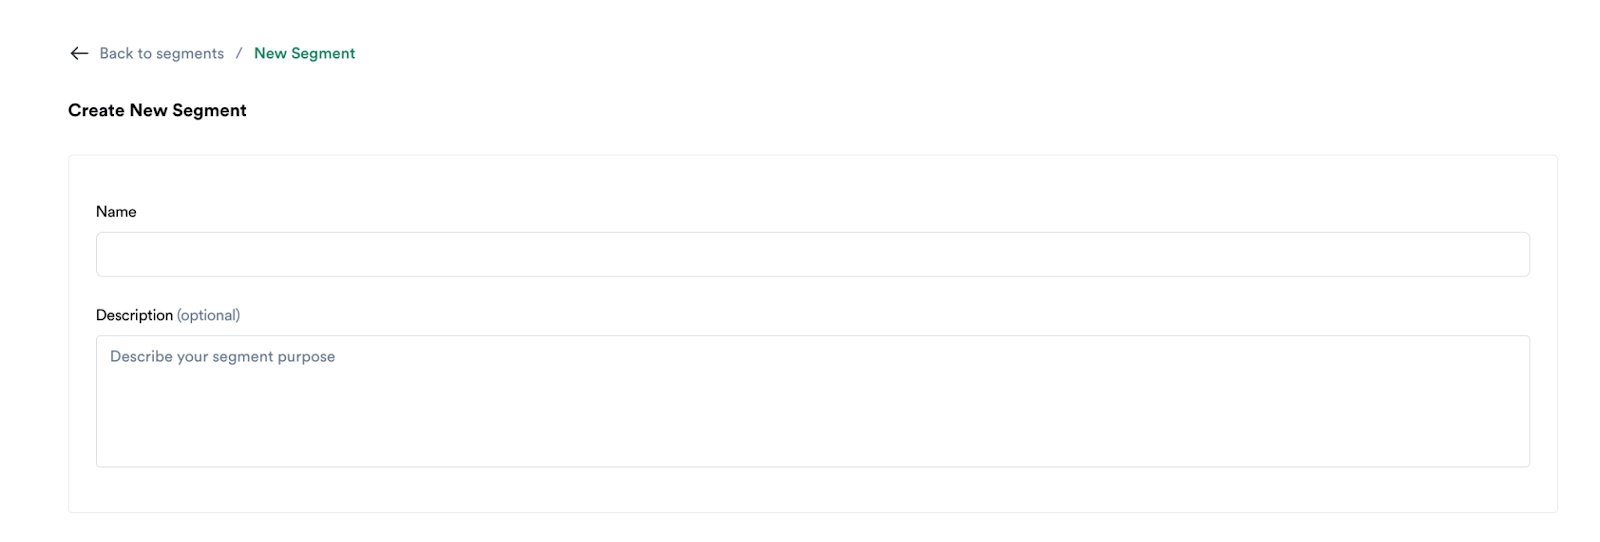
2. Name Your Segment
- Give your segment a descriptive name that reflects its purpose.
- Optionally, you can add a description for clarity.
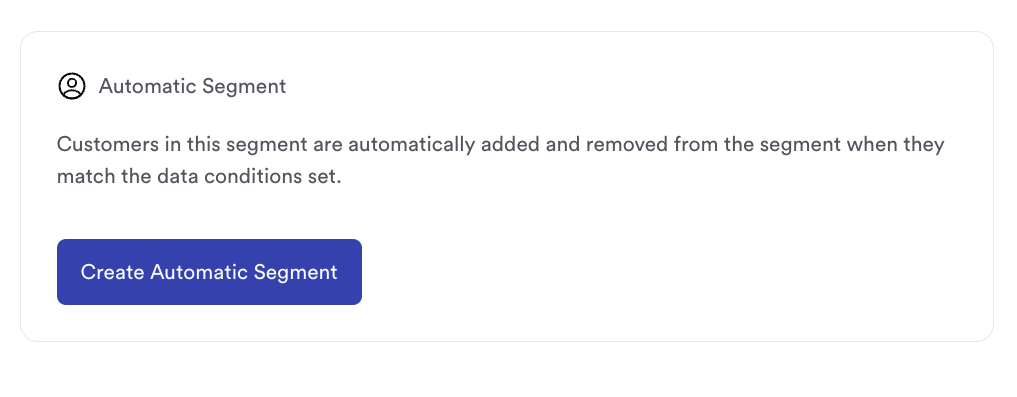
3. Select ‘Automatic Segment’
- Click on Create Automatic Segment. This option allows the system to automatically update the segment based on the conditions you define.
4. Set Conditions for the Segment
- After selecting the automatic segment option, you’ll be directed to a page where you can set your data conditions.
- Conditions can be based on:
- Customer Data: Including customer events and attributes.
- Payment Data: Conditions here will depend on the payment provider you’ve integrated.
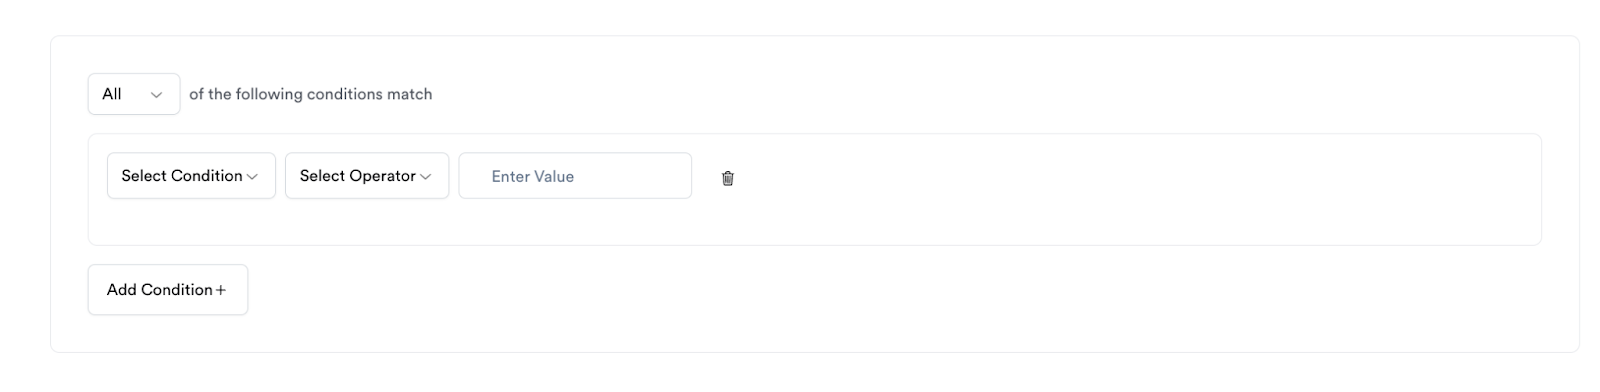
5. Define Your Conditions
- Choose the condition you want to apply, such as transaction status, customer attributes, or specific events.
- Select the operator (e.g., "is", "contains", "greater than").
- Set the value for the condition (e.g., for transaction status, set the value to "successful").
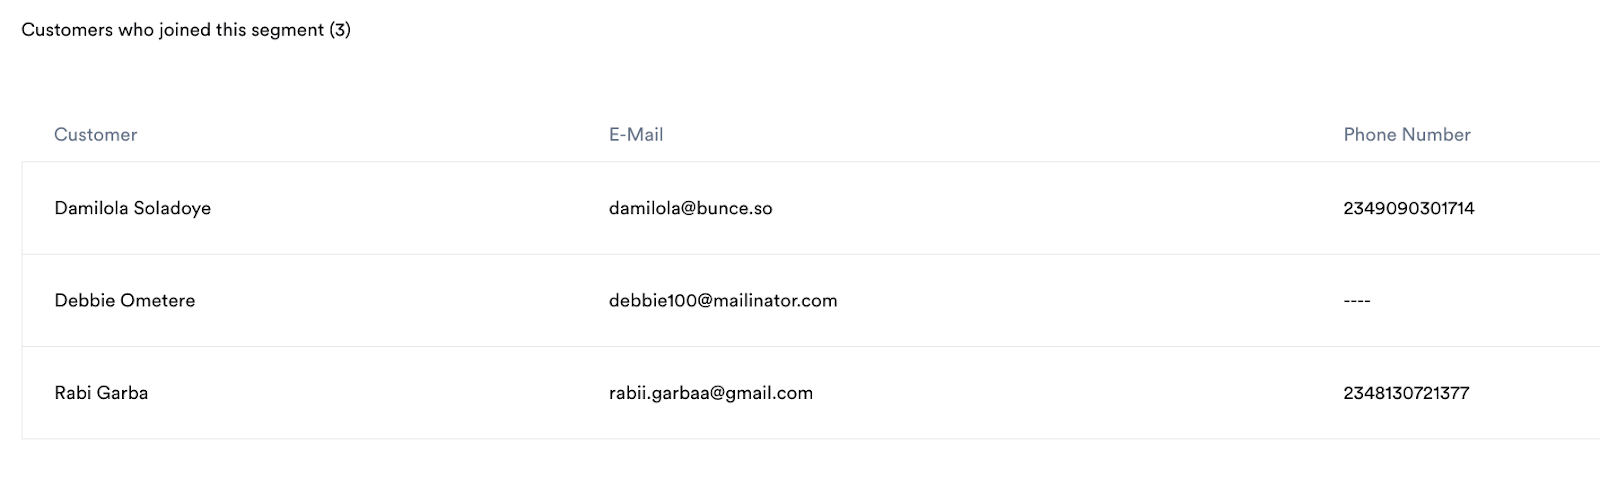
6. Preview the Segment
- Once your conditions are set, a list of customers who meet the criteria will appear below.
Example:
- To create a segment for customers who have had successful transactions:
- Set the condition to "Transaction Status".
- Set the operator to "is".
- Set the value to "Successful".
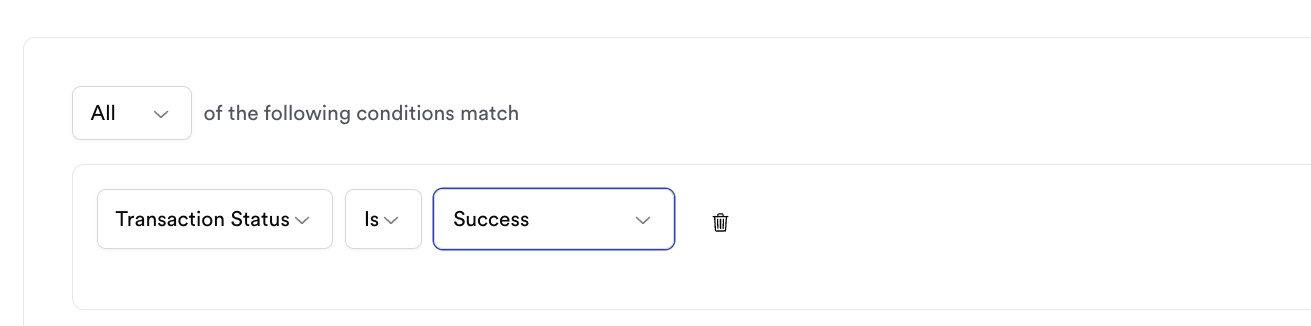
- The system will display customers with successful transactions.
7. Finalize the Segment
- Once satisfied with the conditions and the list of customers, save the segment.
- You can now use this segment to perform further actions like sending targeted campaigns or analyzing customer behavior.