.png)
HOW TO SETUP EMAIL ON ONE INBOX
One Inbox brings customer emails into the same shared workspace you already use for WhatsApp so your team can receive, reply to, and manage email conversations without ever leaving Bunce.
Before any email conversations can appear in One Inbox, you need to connect and verify a sending domain.
Step 1: Open the Email tab in One Inbox
-
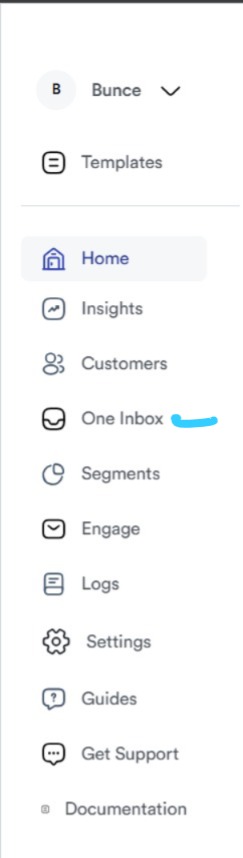
In the Bunce App, go to One Inbox in the left sidebar.
-
Switch the channel selector (top left) to email.
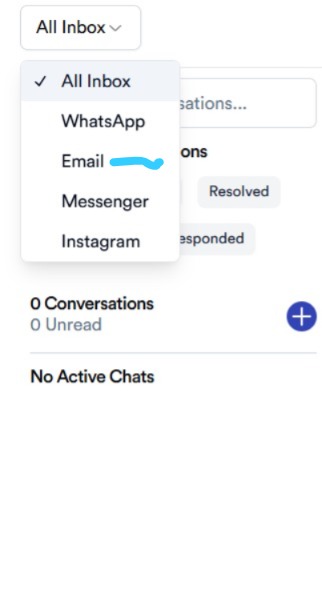
Until a domain is connected, you'll see an empty state:
Select an email conversation to begin.
Customer emails land here the moment they arrive, handled exactly like your chat conversations.
- Reply, forward and attach files without leaving the inbox
- Loop in your team; finance, legal or ops, privately from the same thread

Click Connect Email Channel to begin setup.

Step 2: Add and configure your domain
-
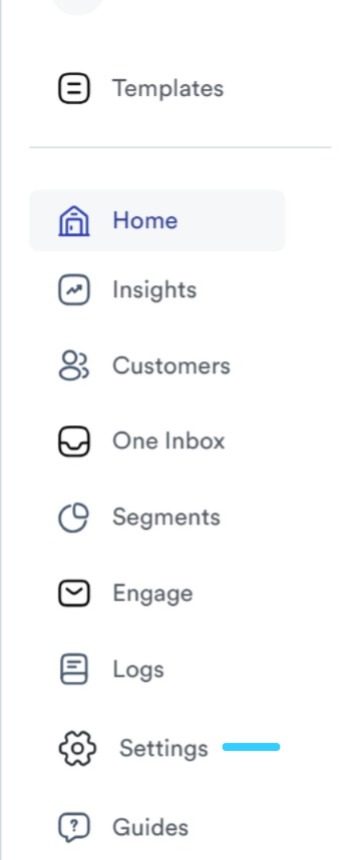
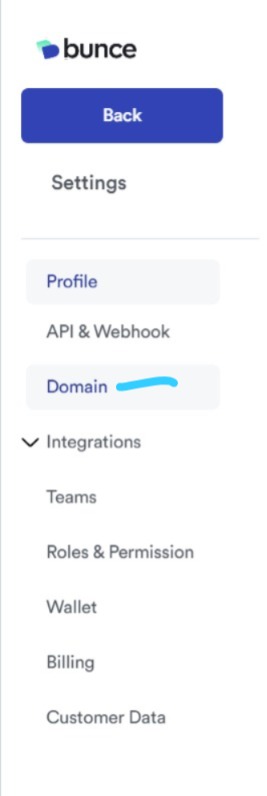
Go to Settings → Domain.
-
Click + Add New Domain and enter your sending domain (e.g.
yourcompany.com).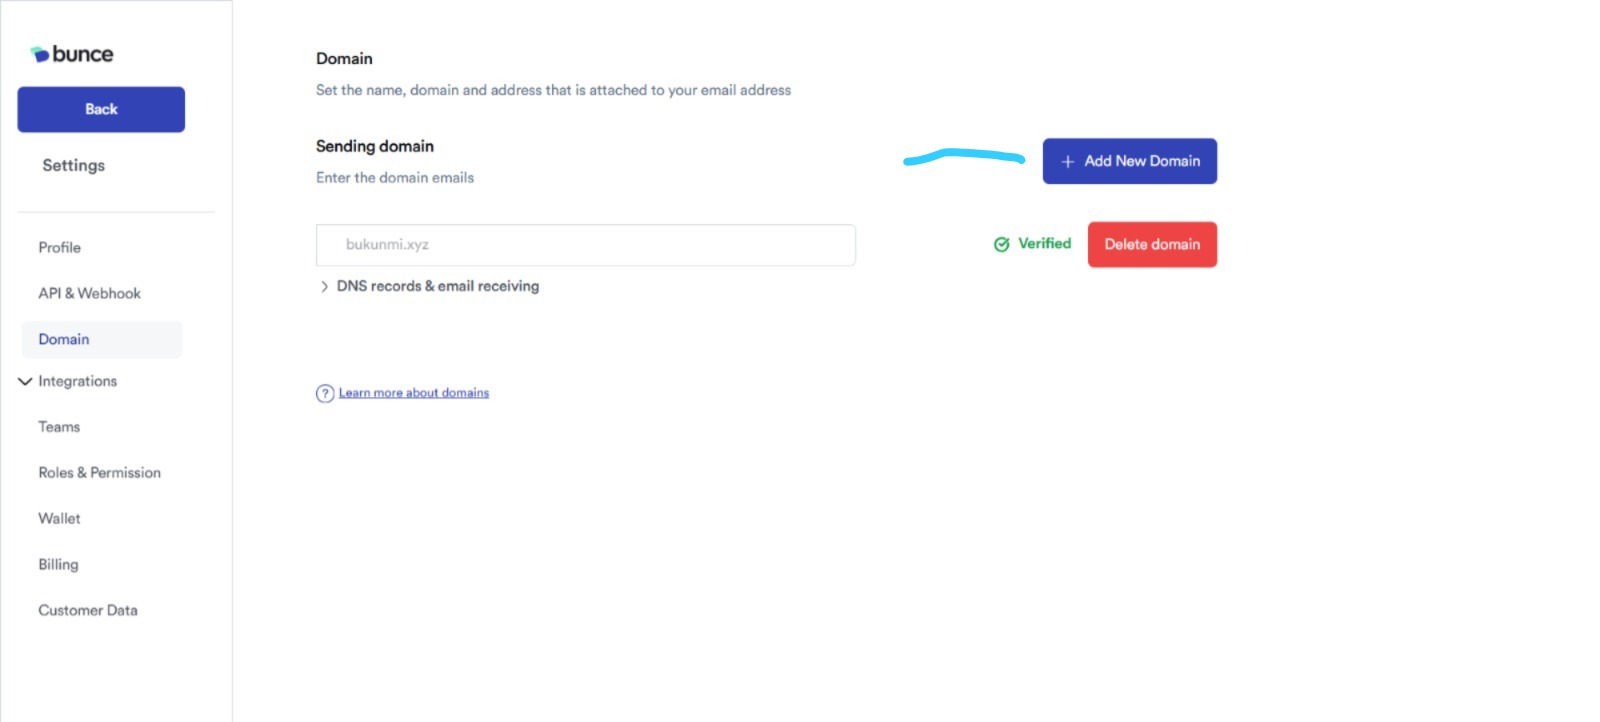
Toggle on Receive emails in One Inbox.
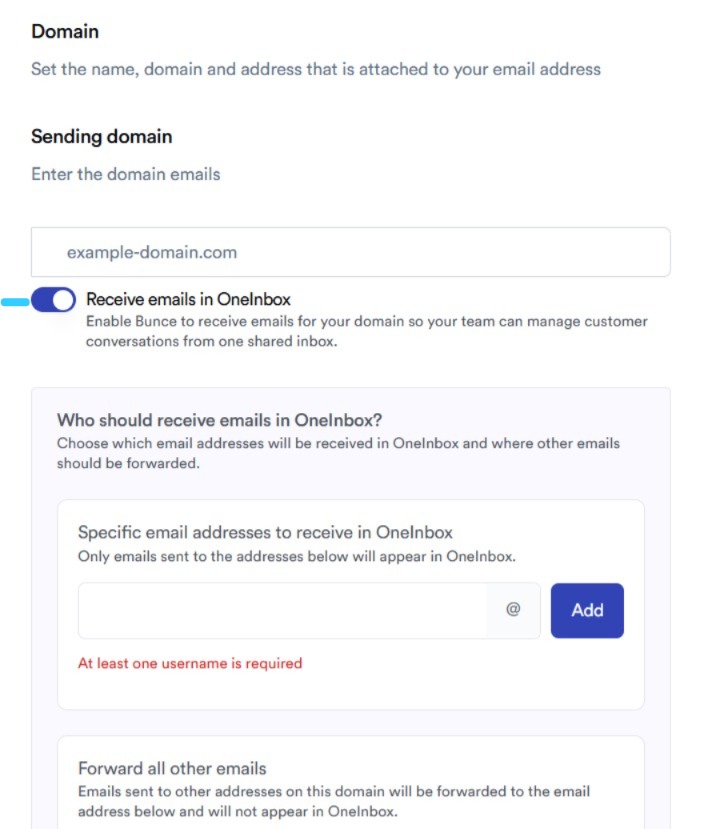
- This reveals the "Who should receive emails in One Inbox?" section.
Step 3: Choose who receives email in OneInbox
You have two options to configure here, and you can use both together:
Specific email addresses to receive in One Inbox
- Only emails sent to the addresses you add here will show up in OneInbox.
- Type the username (e.g.
info,support,inboxlive), the domain is appended automatically (e.g.inboxlive@yourcompany.com) and click Add. - Each address you add appears as a removable tag. You can add multiple addresses.
- Use + Add Email Address later to add more, or the × on a tag to remove one.
Forward all other emails
- Any email sent to an address on your domain that is not in the list above will be forwarded to the address you set here (e.g. a personal or team inbox like
ops@yourcompany.com). - These forwarded emails will not appear in OneInbox, this is purely a pass-through/catch-all so nothing sent to your domain gets lost.
In short: addresses on the allowlist → land in One Inbox. Everything else on the domain → silently forwarded to your fallback address instead.

Step 4: Add the required DNS records
Click DNS records & email receiving to expand the full list of records you need to add with your domain/DNS provider.

| Type | Purpose | Notes |
|---|---|---|
| CNAME (×3) | Domain key verification (DKIM) | Values are unique to your domain, copy exactly as shown |
TXT @ |
SPF record | v=spf1 include:spf.bunce.so ~all |
TXT _dmarc |
DMARC policy | Value shown in the table |
| MX (priority 10) | Inbound email receiving | inbound-smtp.us-east-1.amazonaws.com |
| MX (priority 20) | Inbound email receiving (backup) | inbound-smtp.us-east-2.amazonaws.com |

Important notes:
- Verification isn't instant. It can take anywhere from a few minutes to a couple of hours depending on your DNS provider.
- You cannot send email from your account until verification is complete.
- The
@symbol under "Key/Host" may show differently depending on your DNS provider, sometimes as~or as your full domain name. Use whatever your provider expects for a root-domain record. - If your domain already has an existing MX record (common if you already receive email elsewhere, e.g. Google Workspace or Outlook), Bunce will flag it with "delete" in the Action column. You must remove the existing MX record to make room for Bunce's, otherwise inbound mail won't route correctly. Bunce will show you the updated record to add in its place.
- Once records propagate, the domain status will change to Verified.
Step 5: Confirm and save
Once your addresses and forwarding rules are set and DNS records are in place, click Add Domain (or the record will auto-save if editing an existing verified domain). You'll see the domain listed with a green Verified badge once DNS checks pass.
